Key Takeaways
-
Composting transforms kitchen and garden waste into nutrient-rich soil for your GeoDome garden.
-
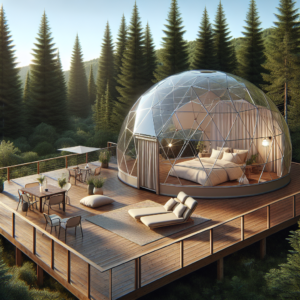
Setting up a composting system inside a Greenhouse GeoDome requires selecting the right location and maintaining balance between ‘greens’ and ‘browns’.
-
Microorganisms play a crucial role in breaking down organic matter into compost.
-
Regular maintenance of your compost pile, including aeration and moisture control, is essential for efficient decomposition.
-
By following simple steps and solving common issues, you can create a sustainable cycle of waste to wealth in your garden.
Why Composting is a Game-Changer for Gardeners
Imagine turning your kitchen scraps and yard waste into a treasure trove of nutrients for your plants. That’s exactly what composting does – it’s a bit like magic, but grounded in science. By composting, you’re not just reducing waste; you’re creating a cycle of sustainability right in your own backyard, or in this case, your GeoDome greenhouse.
Comparing Traditional Composting with GeoDome Techniques
While traditional composting is a tried-and-true method, composting within a GeoDome greenhouse has unique advantages. The controlled environment of a GeoDome provides consistent temperatures, which can lead to faster decomposition. Moreover, the geodesic design maximizes space, allowing for larger composting setups within a compact area.
In a traditional outdoor setting, compost piles are subject to the whims of weather, which can slow down or speed up the process unpredictably. In contrast, a GeoDome’s environment promotes year-round composting, independent of outside conditions.
Essential Composting Materials and Tools
Before diving into the world of composting, you’ll need a few basics. For those integrating composting within a sustainable greenhouse geodome, understanding the right materials and tools is crucial for success.
-
A compost bin or designated composting area within your GeoDome.
-
Carbon-rich ‘browns’ such as dried leaves, straw, or shredded paper.
-
Nitrogen-rich ‘greens’ like kitchen scraps, coffee grounds, or fresh plant material.
-
A garden fork or compost aerator to turn your compost pile.
-
A water source to maintain moisture levels.
With these materials and tools on hand, you’re well on your way to creating black gold for your garden.
The Science of Composting
Composting is more than just piling up organic waste; it’s a scientific process driven by microorganisms. These tiny workers need the right conditions to do their job, which involves a balance of carbon, nitrogen, oxygen, and moisture. Let’s break down this process.
Understanding the Decomposition Process
Decomposition is nature’s way of recycling. It’s the breakdown of organic materials into simpler compounds by microorganisms such as bacteria and fungi. In your compost pile, this process turns waste into a soil amendment full of the nutrients plants crave.
Most importantly, for decomposition to occur effectively, you must provide a balanced environment for these microorganisms. This means giving them enough ‘food’ (your greens and browns) and the right living conditions, including adequate air and water.
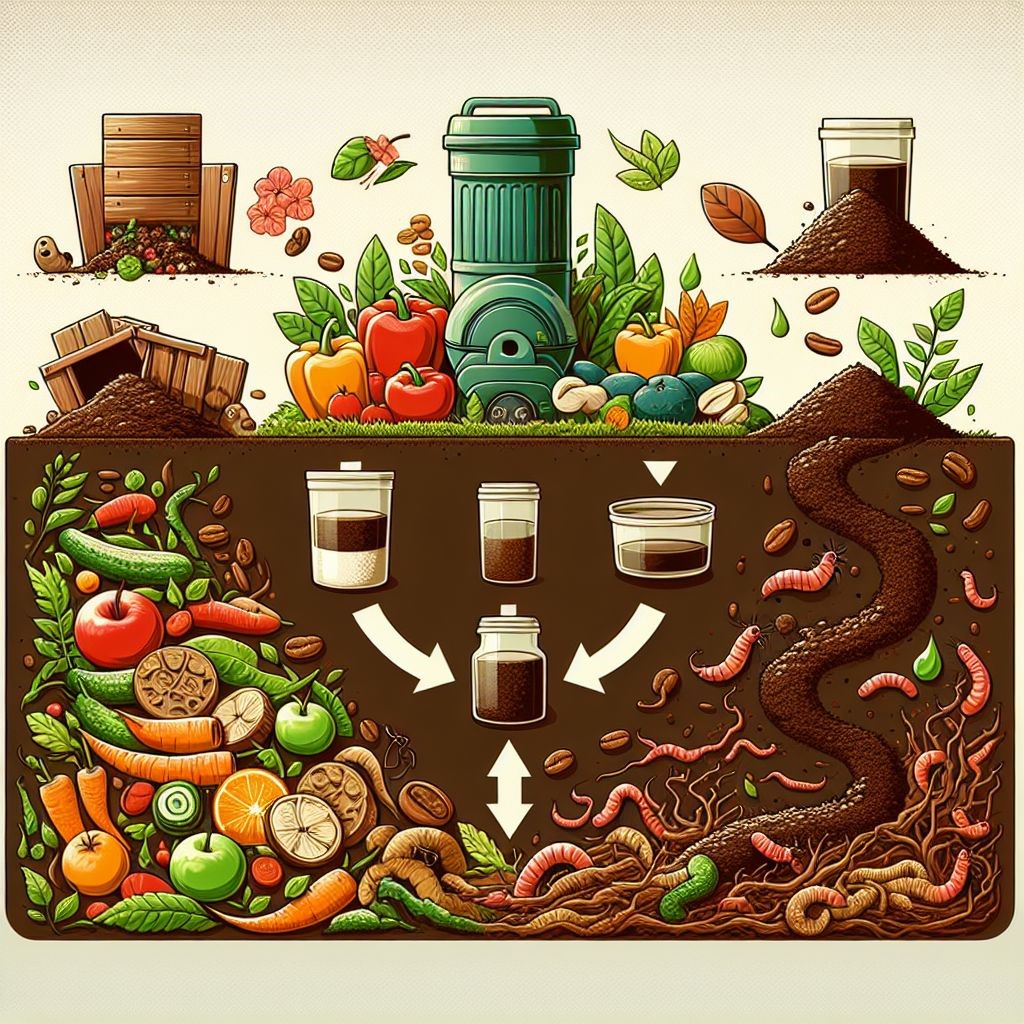
Balancing Greens and Browns for Perfect Compost
‘Greens’ are materials rich in nitrogen, and they’re the building blocks for the proteins that microbes need to grow and reproduce. ‘Browns’ are carbon-rich and provide the energy source for these microbes. A good rule of thumb is to aim for a mix of about 1 part greens to 3 parts browns. This balance ensures that your compost pile doesn’t become too wet or smelly and that it breaks down efficiently.
The Role of Microorganisms in Soil Fertility
Microorganisms are the unsung heroes of your compost pile. They break down organic matter into humus, a dark, crumbly substance that improves soil structure, water retention, and aeration. Humus also increases the soil’s ability to hold nutrients, which means healthier plants and more bountiful harvests.
Therefore, by nurturing the microorganisms in your compost pile with the right mix of materials and conditions, you’re directly boosting the fertility and health of your garden soil.
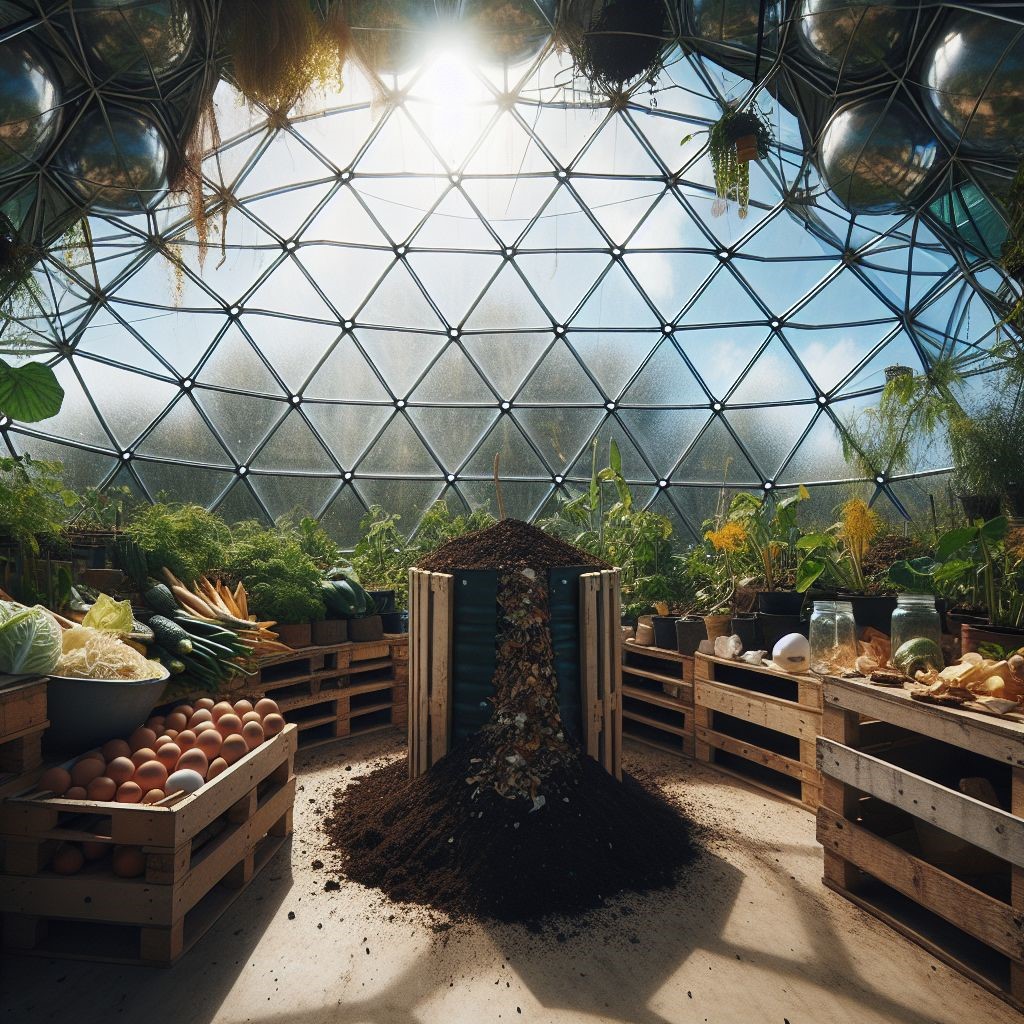
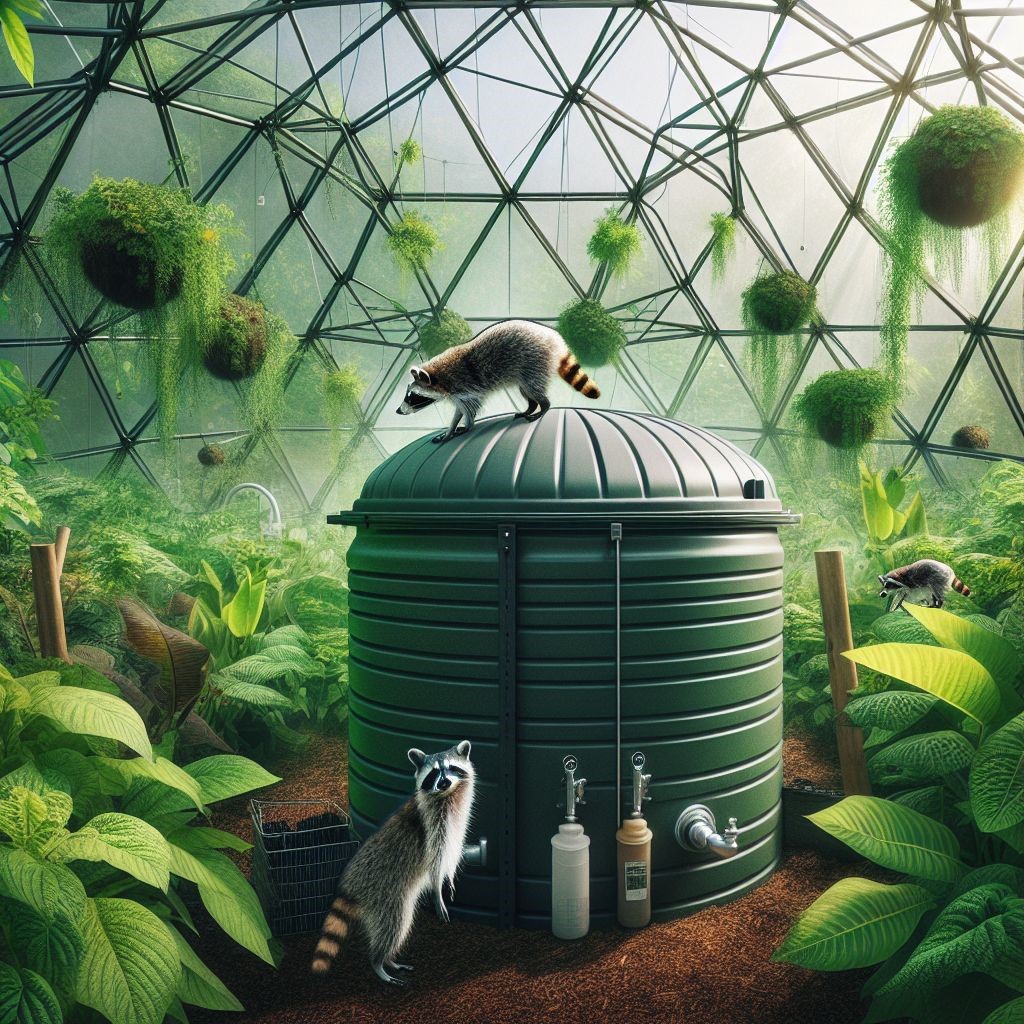
Choosing the Right Spot in Your GeoDome
The location of your compost pile inside your GeoDome is crucial. You want a spot that’s easily accessible but doesn’t interfere with your daily gardening activities. Look for a place that’s somewhat shaded to prevent the compost from drying out too quickly, yet close enough to a water source for convenience.
Remember, the compost needs to be within reach for adding new materials and for turning the pile. Therefore, a central location is often best. Just be sure to leave enough room around the pile to work comfortably.
Constructing a DIY Composting Bin
Creating a compost bin within your GeoDome doesn’t have to be complicated. You can use recycled materials like wooden pallets or repurposed containers. The size of your bin will depend on the amount of organic waste you produce, but a 3-foot square is a good starting point for most gardeners.
Make sure your bin has plenty of holes for aeration and is easy to open for turning the compost. If you’re feeling handy, you can even add a hinged lid or a tumbler system to make the turning process easier.
Maintaining Proper Aeration and Moisture Levels
Aeration is key to avoiding a smelly, anaerobic compost pile. Turn your compost regularly with a garden fork to introduce oxygen. This will also help to distribute moisture and heat evenly throughout the pile, which speeds up the decomposition process.
The compost should feel like a wrung-out sponge – moist but not soggy. If it’s too dry, add some water when you turn the pile. If it’s too wet, add more browns to soak up excess moisture and restore balance.
Composting Techniques for Maximum Efficiency
For your GeoDome compost to break down quickly and efficiently, you’ll need to master a few simple composting techniques. Let’s dive into these now.
Layering Your Compost Pile
Layering is a basic technique that involves alternating layers of greens and browns. Start with a layer of browns, add a layer of greens on top, and then another layer of browns. This creates a ‘lasagna’ effect that helps to balance the carbon-to-nitrogen ratio and promotes even decomposition.
As you add new layers, sprinkle a little soil or finished compost in between. This introduces microorganisms that accelerate the breakdown of materials.
The Turn and Water Method for Faster Decomposition
Turning your compost pile is like stirring a pot of stew – it helps everything cook evenly. Aim to turn your compost pile every week or two. This mixes the materials, distributes moisture, and introduces fresh oxygen, all of which speed up the decomposition process.
If the compost seems dry after turning, give it a light watering. Be careful not to overwater, as too much moisture can lead to a smelly, anaerobic pile. The goal is to keep the compost moist but not wet.
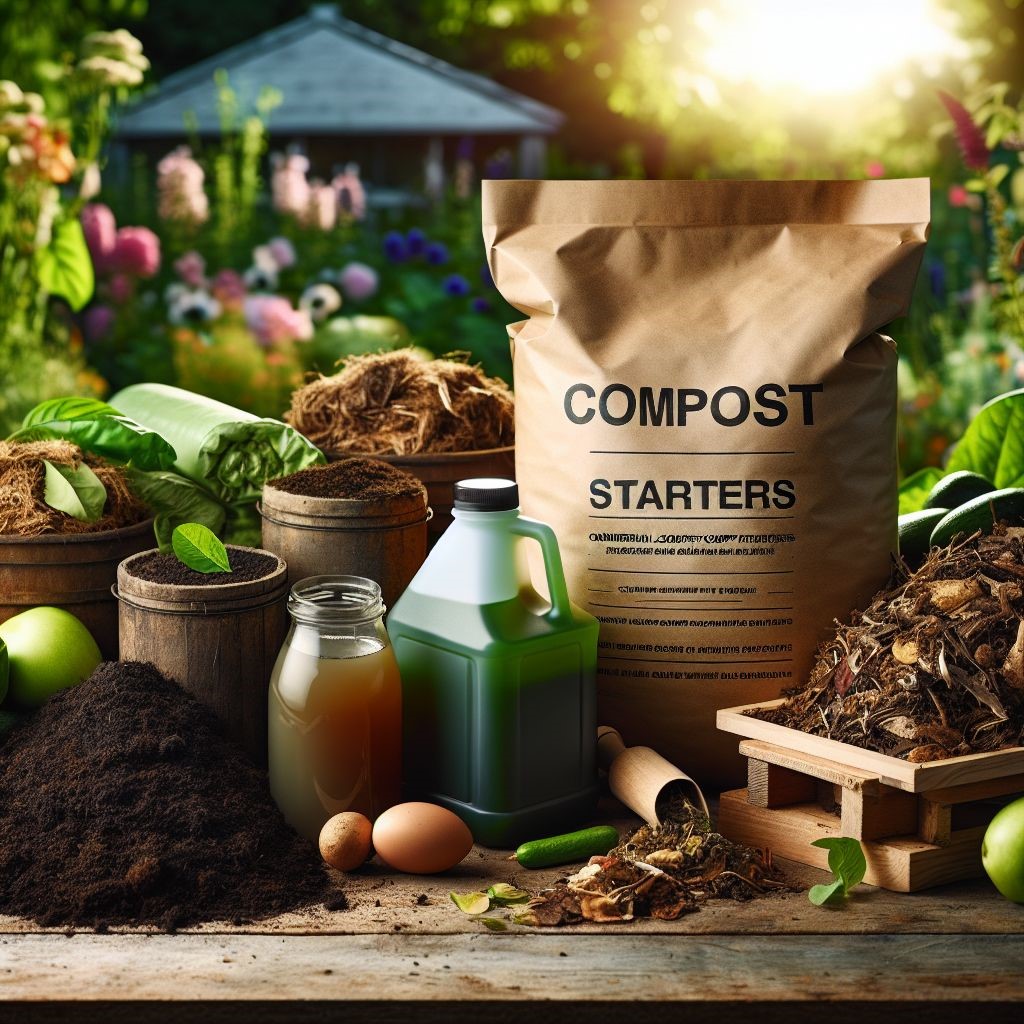
Using Compost Accelerators and Their Benefits
Compost accelerators, such as well-rotted manure, compost tea, or commercial starters, can give your pile a boost by adding concentrated microorganisms. These products can help jump-start the decomposition process, especially if you’re starting a new pile.
However, they’re not always necessary. Often, simply adding a shovelful of garden soil to your compost pile is enough to introduce the microorganisms needed to get things going.
Common Composting Issues and Their Solutions
Even with the best intentions, you might run into a few hiccups with your compost pile. But don’t worry – most issues have simple solutions.
Dealing with Odors and Pests
Odors are usually a sign that your compost pile is too wet or lacks oxygen. To fix this, turn the pile to introduce air and add more browns to absorb excess moisture. If pests are a problem, make sure you’re not adding meat or dairy products to your pile and keep it covered to deter critters.
Managing Overly Wet or Dry Compost
Balance is everything when it comes to moisture. If your compost is too wet, add dry browns like straw or leaves. If it’s too dry, add water or greens like vegetable scraps. Remember, the consistency of a wrung-out sponge is what you’re aiming for.
Ensuring Compost Maturity Before Use
Using immature compost can harm your plants because it can rob nitrogen from the soil as it continues to decompose. Mature compost is dark, crumbly, and smells like earth. If you’re unsure, let it sit for a month or two longer, or do a germination test with some seeds.
Utilizing Your Rich, Nutrient-Dense Soil
Once your compost is ready, it’s time to give back to your garden. Spread it on top of your beds, mix it into the soil, or make compost tea to feed your plants. This rich, homemade soil amendment will support your plants’ growth, improve soil structure, and increase water retention.
Composting within your Greenhouse GeoDome is a rewarding practice that benefits your garden and the environment. By following these tips and techniques, you’ll turn waste into wealth and enjoy a thriving, sustainable garden year-round.
FAQs
How long does it take to turn waste into compost in a Greenhouse GeoDome?
The time it takes to turn waste into compost in a GeoDome can vary, but generally, it can be as quick as a couple of months to as long as a year. The speed of decomposition depends on factors like the balance of materials, the size of the compost pile, and how often it’s turned. With the right conditions, you can speed up the process and enjoy rich compost in a shorter time frame.
Can meat and dairy products be composted in a GeoDome?
It’s generally not recommended to compost meat and dairy products, especially in a small-scale system like a GeoDome compost. These items can attract pests and produce unpleasant odors as they decompose. Stick to plant-based kitchen scraps, yard waste, and other organic materials for a healthy, pest-free compost pile.
What are the best practices for introducing worms into a GeoDome compost?
Introducing worms into your GeoDome compost can accelerate the decomposition process and produce high-quality vermicompost. The best practices include:
-
Start with a worm bin or designated area within your compost pile.
-
Use red wigglers, which are the best type of worms for composting.
-
Ensure the environment is moist and cool, as worms thrive in these conditions.
-
Feed the worms a balanced diet of greens and browns, avoiding meat and dairy.
-
Keep the compost well-aerated and turn it regularly, but be gentle to avoid harming the worms.
How can you tell when your compost is ready to use?
Your compost is ready to use when it looks and feels like rich, dark soil and has a pleasant, earthy smell. It should be free of any large, recognizable pieces of organic material. If you’re not sure, try the germination test: plant a few seeds in a pot with your compost and see if they sprout and grow healthily.
Are there any plants that don’t benefit from GeoDome compost?
Most plants will thrive with the addition of compost, as it provides essential nutrients and improves soil structure. However, some plants that prefer poor or specific soil conditions, such as certain succulents or native wildflowers, might not require the rich environment that compost provides. Always consider the specific needs of your plants when amending your soil.